Food Grown Without Chemicals
Harvested fresh every week and handled with care for better flavor and nutrition.
Market Address:
1111 Saint John Street,
Lafayette, LA 70506
Market Hours
- Mon - Fri
- Closed
- Saturday
- -
- Sunday
- Closed
Big Family. Small Farm. No Pesticides.
Nourish Your Family with Local Produce
Rooted in regenerative practices and picked fresh each week
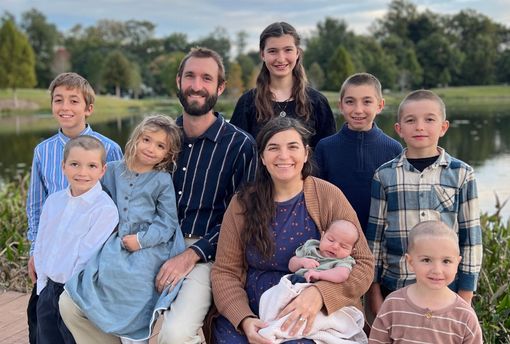
Welcome to St. Joseph Homestead! We're a family-run farm in the Lafayette area built around a simple motto: Big Family. Small Farm. No Pesticides. Since 2018, our farm has been growing vegetables, herbs, and greens using organic practices that prioritize soil health over shortcuts. What started as a shift from engineering has evolved into a long-term commitment to clean food and self-sufficient farming.
You'll find produce that's harvested fresh, handled with intention, and grown without the chemical residue common in conventional systems. The difference shows up in flavor, nutrition, and how long your greens stay crisp in the fridge. Every item reflects a hands-on approach to farming that values quality over volume.
St. Joseph Homestead focuses on regenerative growing methods that support the land while supplying your kitchen with honest ingredients. From baby greens to root vegetables, the produce you bring home reflects the care put into the soil. Whether you're meal-planning for your household or simply looking for better-tasting food, you're working with a farm that grows things the right way.
Visit the farm booth every Saturday at Le Bon Marché in Lafayette to see what's in season.
Visit your local farmers market in Lafayette, LA to explore our fresh, healthy, organic food products!
Support Clean Farming in Acadiana
We're a family-run farm committed to soil health and honest growing methods.

When you're buying from a small farm, you're getting food that was likely in the ground just days before. That freshness translates to better shelf life, richer flavor, and higher nutrient density compared to produce that's been sitting in transit or storage. You're also supporting a system that builds soil health rather than depleting it.
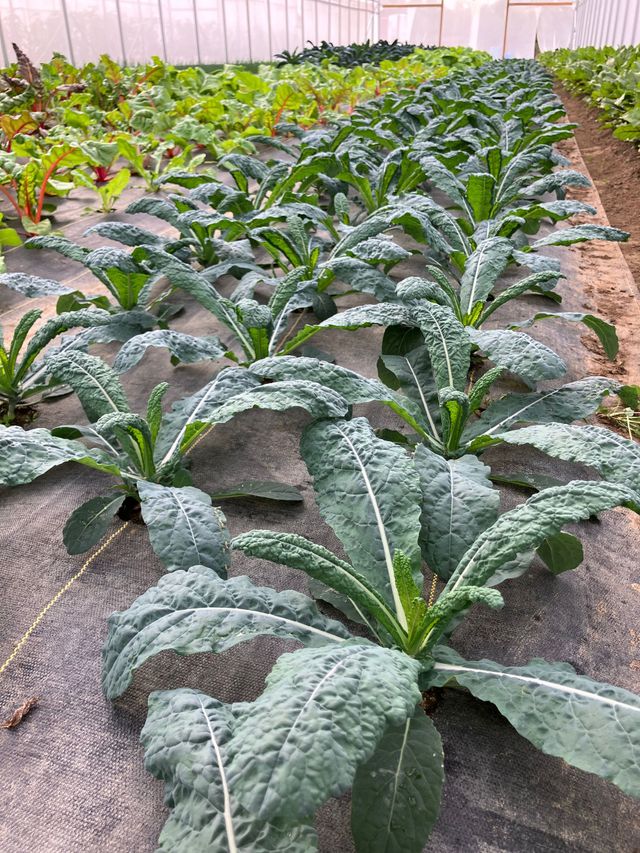
St. Joseph Homestead grows everything with methods that work with natural cycles. We only use biological, organic methods to address insect pests, and we never use chemical pesticides. The result is produce you can feel good about serving to your family. Each season brings a rotating selection based on what thrives in our South Louisiana climate, so your table reflects the rhythm of the farm.
Here's what you can expect to find throughout the year:
What's Available Each Week
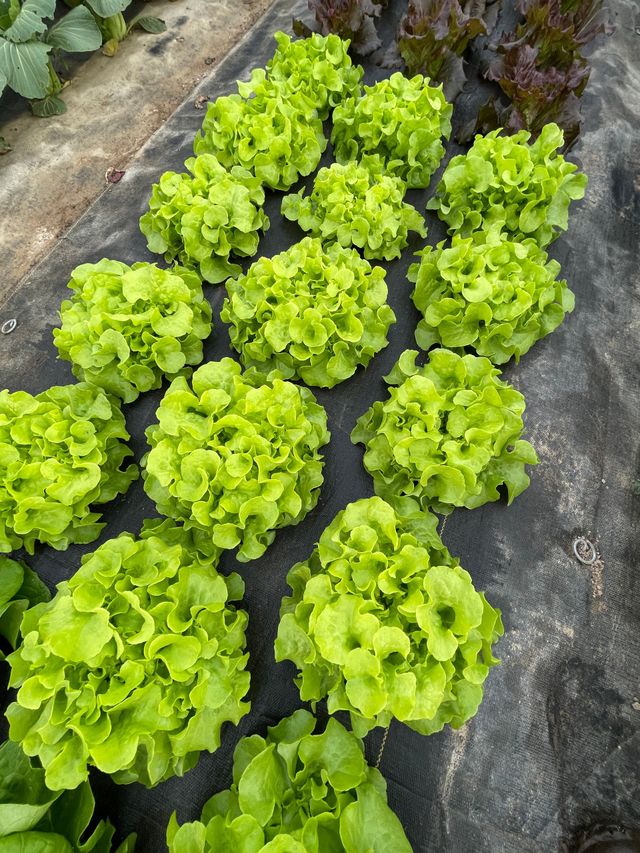
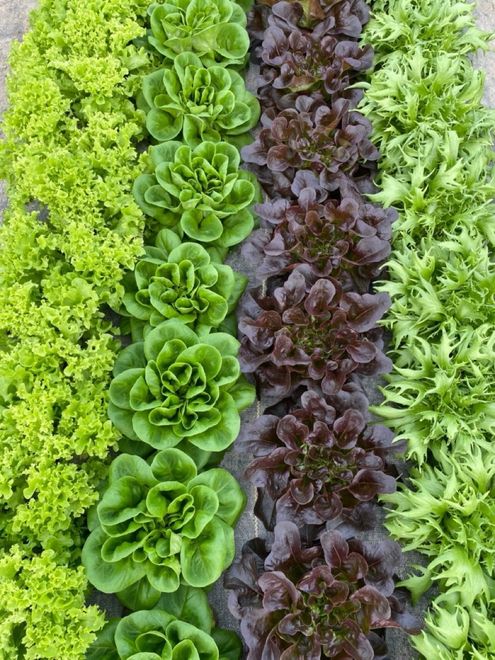
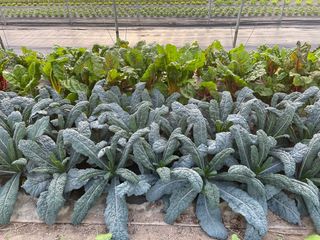
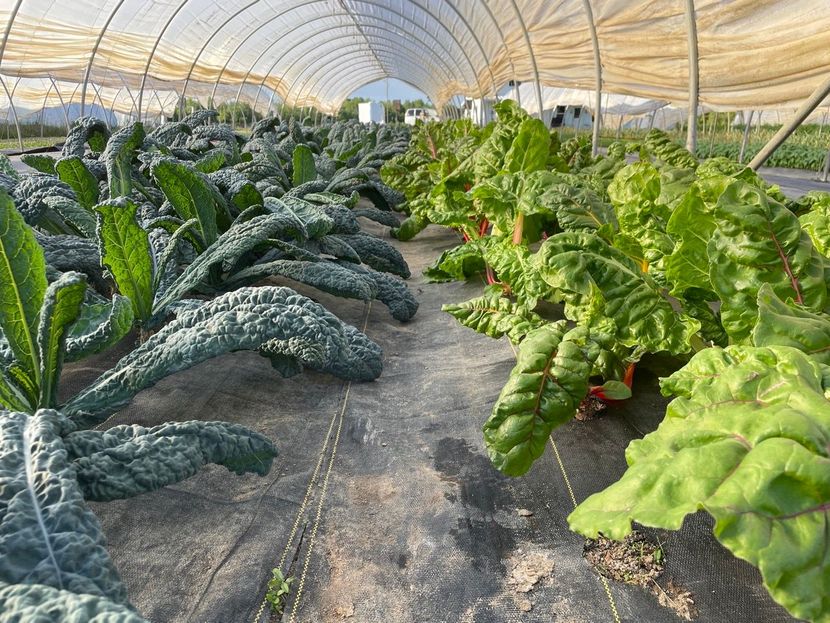
Baby greens and salad mixes grown with attention to texture and flavor balance
Lettuce varieties and heads picked at their peak for crispness and color
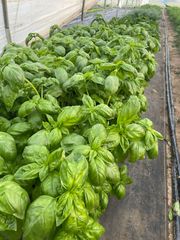
Cooking greens, leafy vegetables, and fresh herbs harvested the same week you buy them
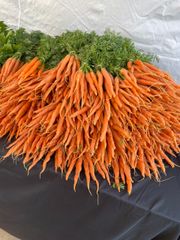
Onions, root vegetables, and seasonal summer produce suited to the local growing calendar
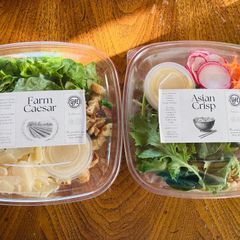
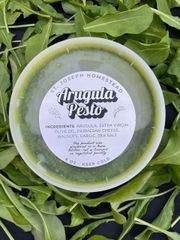
Fresh pesto, prepared salads and dressings, salsa, and pickles made from farm-grown ingredients
We sell our produce every Saturday at Le Bon Marché, along with other local farmers.
We send a newsletter every week to let you know what will be available at market. Sign-up here.
A Farm Built on Honest Practices
St. Joseph Homestead began in 2018 as a deliberate shift toward farming and self-sufficiency, rooted in a belief that good food shouldn't come with compromise. The farm operates on principles that treat the soil as a living system, using regenerative methods that improve the land over time rather than extracting from it. Every decision reflects a commitment to doing things right, not quickly.
By supporting our local farm, you're supporting a family who understands what it takes to grow clean food at a small scale. Our farm's focus on organic practices means no synthetic inputs, no chemical pesticide residue, and no guesswork about what's on your plate. It's farming grounded in accountability, where the quality of the harvest is tied directly to the care invested in the process.
While we are not certified organic, we firmly believe that we are growing food that's beyond organic. We are constantly looking for ways to improve our soil health, which in turn makes our produce less likely to need pest interventions. Healthy plants do not attract pests. That's our ultimate goal.
Customer Stories That Speak for Themselves